

Every Unity game developer faces the same challenge: building a high-quality game while managing a limited budget. Should you use free Unity assets, or invest in premium Unity game templates and assets?
Making the right choice doesn’t just save money—it directly impacts your game performance, development speed, and overall success.
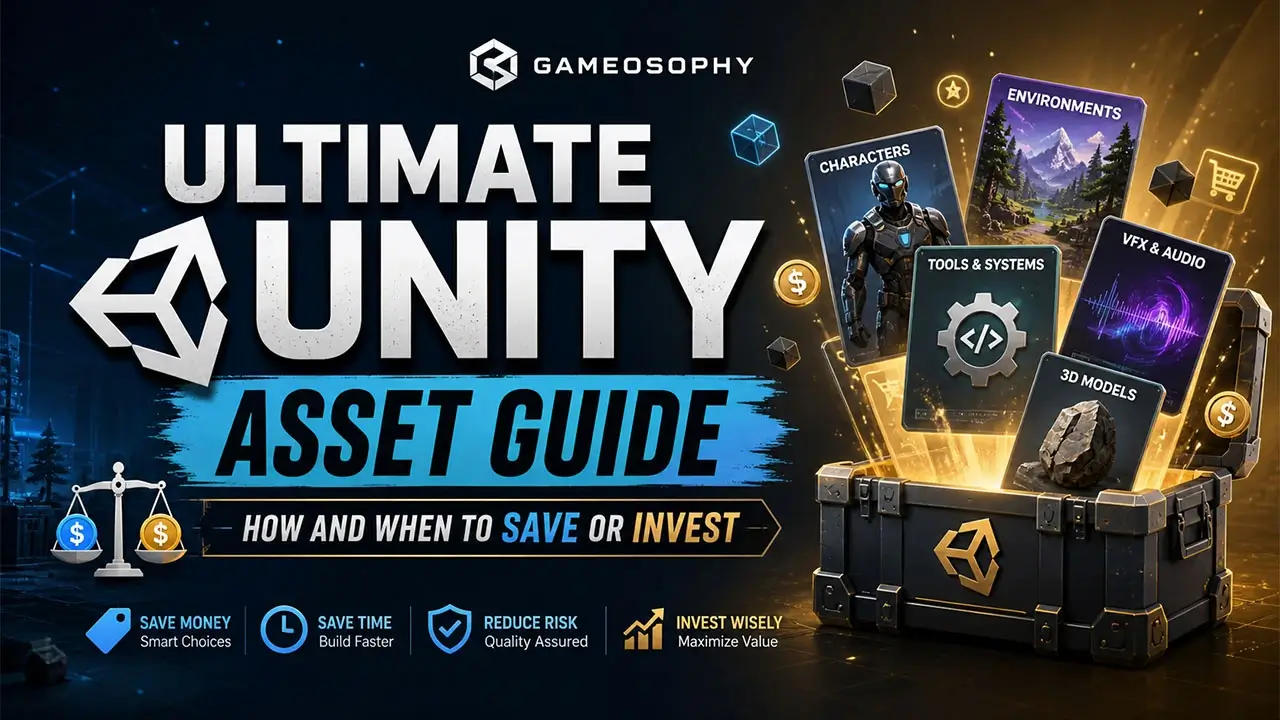
If you’re planning to buy Unity game source code, templates, or assets, this guide will help you decide when to save and when to invest smartly.
Unity assets are pre-built resources that speed up game development. These include:
Whether you're creating a mobile game, hyper-casual game, or AAA-style project, using the right Unity game assets can reduce development time significantly.
👉 Many developers now prefer to buy Unity game templates instead of building everything from scratch.
During early development, free Unity assets are perfect for testing gameplay mechanics.
If your game isn’t fun with basic shapes, expensive assets won’t fix it.
Best keywords used naturally:
free Unity assets, Unity prototyping, game development beginners
If you're new to Unity, free assets help you:
Perfect for students and indie developers exploring Unity game development tutorials.
Not everything in your game needs to be premium.
Use free assets for:
This keeps your budget focused on important features.
Premium assets offer:
This is crucial if you're building a commercial Unity game.
Time = Money.
Instead of spending weeks building systems, you can:
Example:
A $30 asset saving 40+ hours = massive productivity gain.
Paid Unity assets usually include:
This is essential for long-term game maintenance.
| Factor | Free Unity Assets | Paid Unity Assets |
|---|---|---|
| Cost | Free | $5 – $500+ |
| Quality | Inconsistent | High-quality |
| Best For | Learning & prototypes | Commercial games |
| Support | Community | Developer support |
| License | Limited/varies | Commercial-friendly |
Check recent reviews to ensure compatibility with the latest Unity LTS version.
Always confirm if assets allow commercial game publishing.
There’s no single rule for success in Unity game development.
👉 Start with free Unity assets to test your idea
👉 Upgrade to premium Unity templates and assets for polish and scalability
If you're serious about launching a successful game or selling games online, investing in high-quality Unity game source code and assets is the smartest move.
At Gameosophy, we provide:
Start building and launching your game faster today!


